Some of my favorite blog posts are the kind that show the stages of a project from beginning to end. So I’m having a go with my recent obsession – ACEOs (Art Card Edition Originals) created with Micron fine line pens and Copic alcohol-based professional markers. Please feel free, should you stumble upon this post, to offer comments, criticisms or suggestions. I can take it. ;)
Please note I in no way resemble a Copic expert. I wouldn’t even call myself proficient. So this is clearly not a how-to post, although I suppose it is a how-to-if-you-are-me-today post.
One thing I’ve noticed is that I don’t get discouraged as easily as I once did, abandoning pieces before they have a chance to develop a personality. These days I try to be more patient. So let’s start here:
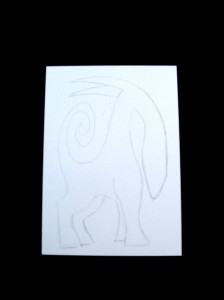
I sketch in pencil first almost always these days. For a long time I didn’t sketch beforehand at all, and it led to a lot of wasted paper and no small amount of frustration. I still doodle a lot without sketching first, but mostly I do a basic outline of a beast – particularly the legs (for alignment), nose (which makes a big difference in a beast’s personality), hair/spines (because it’s easy to accidentally make each piece too similar, which is not an effect I generally like) and ears (which also affect personality). I could have added a forelock but I wanted more white space.
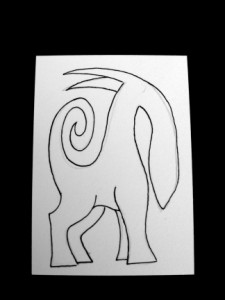
Just a simple line outline. After I’ve given it a few moments, I erase the pencil lines with my handy Staedtler Mars plastic eraser. I don’t even mind if the eraser fades out the ink at this point, because I’ll be going back over it at the end.
Another thing I notice and if you have been a doodler of any sort for any length of time you probably notice the same thing, and that is that I don’t hesitate like I used to with pen line. So you don’t see a lot of starts and stops with little bits of line trying to line up.
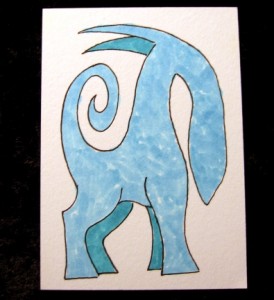
A basic covering with the lightest blue. The opposite side legs and ear start off one step darker. I tend to dab a lot to try to avoid lines in the marker coverage. I also like to leave some white space to add depth in subsequent layers.
I should add here that the thing about not hesitating with pen is not serving me quite so well with the markers, which do have a nice brush tip but I haven’t trained myself to slow down quite enough (particularly with tiny ACEOs!) and I manage to color outside the lines with some frequency. :D
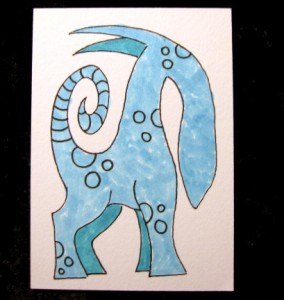
I decided a bit late to add some detail. I forgot I wanted to do a striped tail but better late than never! As long as I didn’t have my heart set on light colors that the light blue would bleed through, this isn’t a big deal.
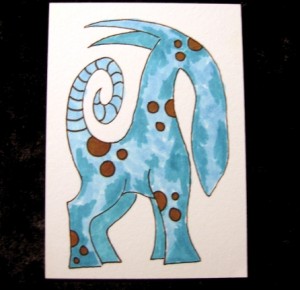
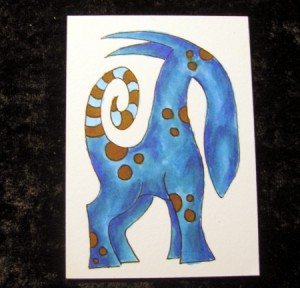
Decided on brown for the spots which covered the blue easily. Did some sketchy shading with my next blue.
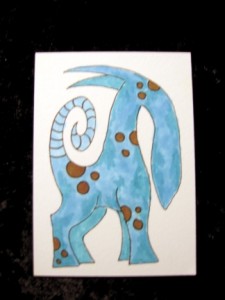
The photo is a tad blurry but I went back over the beast with the first (lightest blue) which softened the transitions.
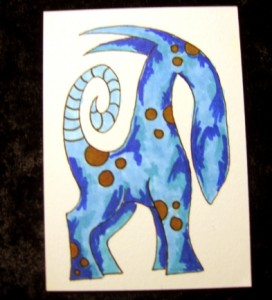
The next darkest blue. As you can see, I am missing many shades of blue in between, but I am making do with the colors I have.
Another round of the second blue.
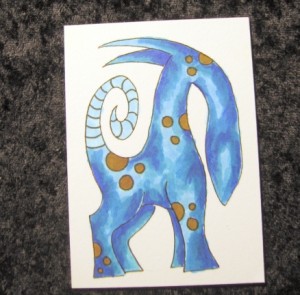
And then an overall cover with the first (lightest) blue.
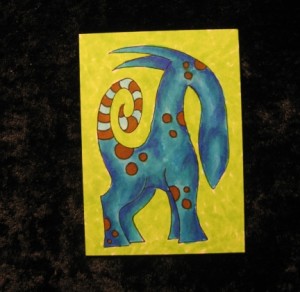
One pass of the background with lightest green, dabbing and leaving white space.
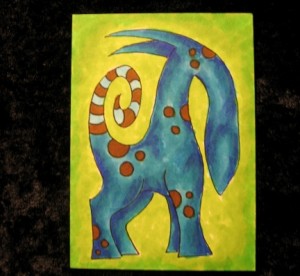
And then a second green around the edges.
Back over with the lightest green at the sides and then covering the whole green background with yellow. You can see where it catches the white spaces and adds a bit of texture and depth.
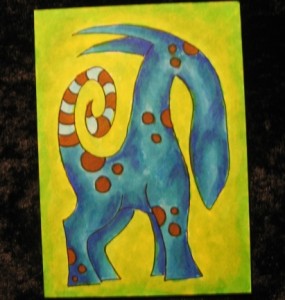
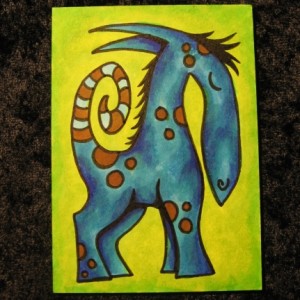
Oops, forgot to stop and take a picture or two. I re-inked the outlines with a thicker Micron, gave him a closed eye and a nose, and added some hair after all (because he asked nicely for some). I re-did a bit of the darkest blue, then went back over that with blue #2.
That’s it. No particularly fancy Copic tricks. This is a pretty basic beast with no landscape or friend or flora. Although I started off doing lone beasts like this one, I do try to add a little something to make a bit more of a scene rather than a portrait most of the time. Often a little dog! But it is rough to fit multiple objects in a teeny 2.5 inch by 3.5 inch art card.

I really enjoy a glimpse into an artist’s process. It’s a great way for us to learn from each other. Love seeing one of your beasts evolve! He’s quite handsome!
Excellent post and such an awesome beast! I’m amazed how well the brown covered over the blue. Those markers are going on my wish list. Have a nice day. :)